Be sure and check out the SUPER SALE going on now on my Facebook Page! Fabulous deals on out of season merchandise! Click HERE to check it out!

Thursday, October 29, 2009

Gidget’s Halloween Costume Parade

KellyShowUs

I couldn’t resist joining this week’s edition of Show Us Your Life over at Kelly’s Korner.  We’re supposed to be showing off our Halloween costumes.  I think the last time I dressed up for Halloween was in college, but I certainly dress up my pug, Gidget, every year!  So here we go with Gidget’s Halloween Costume Parade!

Halloween 2002

bumble pug

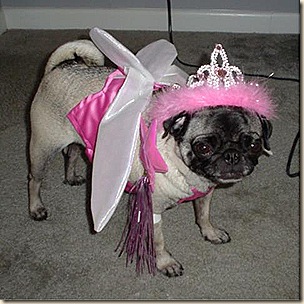
Halloween 2003Fairy Gidget

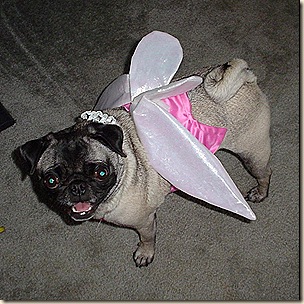
This was my first attempt at a home-made costume.  I used a pattern for a Tinkerbell costume except did it in a pink satin.

Fairy Gidget 3

Not too happy about the whole fairy princess look!
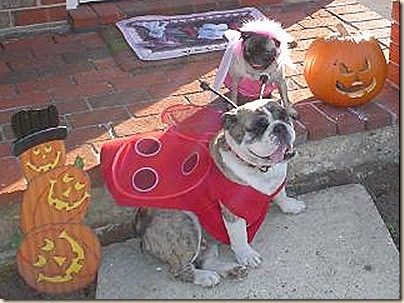
Fairy Gidget 5Here’s Gidget posing with our late bulldog, Daisy.      girlshalloween 
Halloween 2004

DSC00487

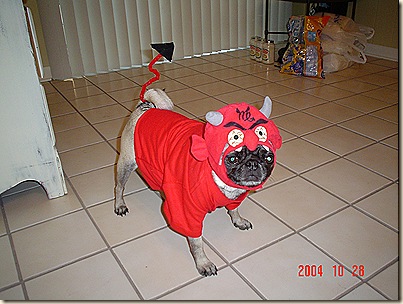
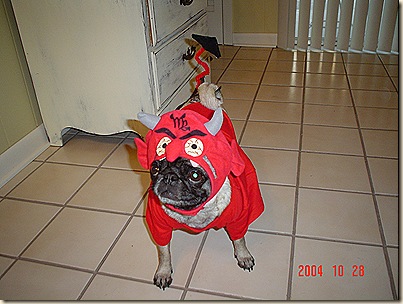
My dad always calls Gidget “devil dog”, so when my mom found this mask she had to get it for her. Then I just put her in a children’s red t-shirt and used a pipe cleaner and felt to make the pointy tail.
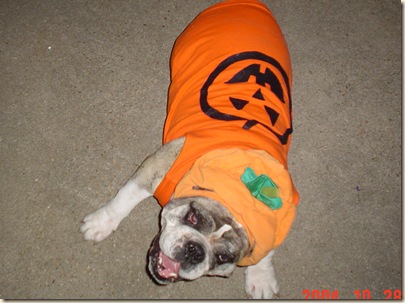
DSC00488 Of course Daisy had to get in on the fun too!   DSC00489 (2)
Halloween 2005 we were evacuated from Hurricane Katrina, so I think Gidget just wore her Devil outfit again.

Halloween 2006
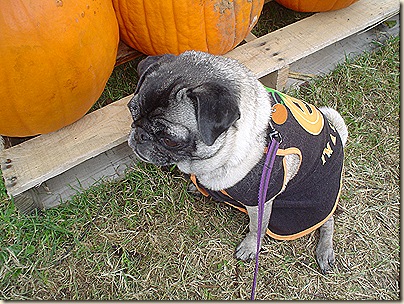
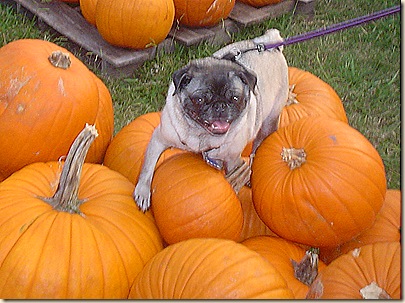
DSC01604No costume this year, just a visit to the pumpkin patch in her “I’m a Little Pumpkin” outfit.  This is actually a baby bib that my friend found!DSC01599
Halloween 2007

Halloween2007

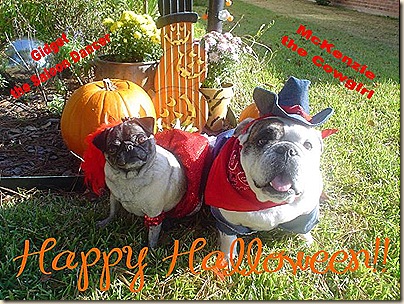
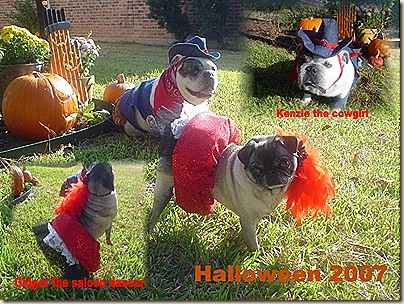
This was a banner year.  I decided to enter our girls in the costume contest at Pet-Co.  McKenzie was a cowgirl and Gidget was a saloon dancer.  Can you believe they did not win?? My mom and I made these costumes from scratch (except for McKenzie’s hat) and they looked sooo cute! Kenzie even had a little holster & gun! Some dog in a store-bought costume won, and I have boycotted Pet-Co ever since! Halloween2007_2 
Halloween 2008

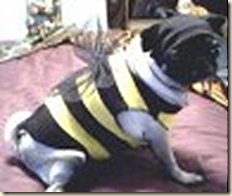
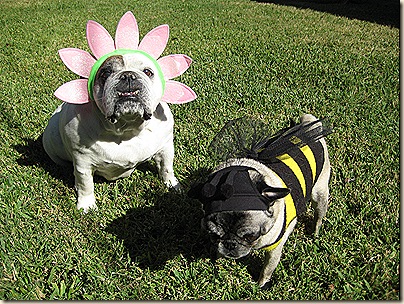
The girls were still so distraught from their loss the previous year that they didn’t want new costumes, so I brought out Gidget’s first costume, a bumblebee, and put McKenzie’s flower headband on her.  Cute!IMG_0606
Halloween 2009 is still yet to be determined.  I don’t have a costume planned, so Gidget will probably just wear her Halloween outfit.  Sadly, McKenzie is no longer with us.

So, yes, I am one of those crazy people who dresses up her dog!  See more of Gidget in her outfits here, here & here.


Happy Halloween!

Geaux Tigers, Beat Tulane!

Wednesday, October 28, 2009

I’ve Gone Global!

I had my first international sale on Etsy several weeks ago (a jewelry holder to Australia), but I’m more excited about a large order of my candle embellishments that I just recently shipped to Thailand!

IMG_3132

The lady who bought them has a boutique and is going to sell them there. IMG_3142It’s so cool that something I made is going to be sold half-way around the world!IMG_3171One of the things that I love about Etsy is that you can reach people all over the world, both as a buyer and a seller, with just one click of the mouse!

IMG_3172 So I’ve been working furiously over the past couple of days to replenish my stock of candle embellishments.  Here’s a peek at how it’s coming:

IMG_3192 IMG_3190 IMG_3191 So keep checking my Etsy shop, I’ll have plenty of stock soon, they make great Christmas decorations and gifts!

Speaking of Etsy, there’s only a few days left to get 10% off any pink product in my shop in honor of Breast Cancer Awareness Month.  Got your eye on anything?

Monday, October 26, 2009

DIY Birthday Invitations

kimbaDIY125

Making your own birthday or party invitations is a great way to save a little money when planning your event.  Have you priced custom invitations at a professional printers lately? Yikes!!  It’s easy to create that same custom look at home!

invite2

I recently helped my friend put together the birthday invitations for her daughters’ upcoming party and thought I would share the step-by-step process with you. 

Here are the supplies we used:

~ Lightweight cardstock (heavy scrapbook paper)

~ Sheets of vellum paper

~ Raffia or ribbon of your choice

~ Paper cutter and/or scissors

~ Hole puncher

~ Computer & printer

~ Envelopes

IMG_3173

You’ll print the wording of your invitation on the vellum paper and layer it on top of the cardstock. First, design the wording of your invitation in your computer’s word processing software, which will help you determine  the size of the overall invitation.  Her invites were printed on 4.5”x7.5” vellum paper layered on top of 5.25”x8” cardstock.  You can download cute fonts from dafont.com for free to really personalize your invites. 

Next, use a paper cutter to cut your paper to size.

IMG_3174

So now you should have your top invite and background paper all cut and ready to layer.  Use the hole punch to punch two holes about 1.5” apart in the top center of both papers, leaving about a 1/2” margin of the cardstock of  around your vellum paper.

IMG_3176

Now cut the raffia/ribbon into pieces about 7” long.

IMG_3175

Use the raffia/ribbon to join the two pieces of paper together.  Insert each end from the top of the paper through to the bottom, cross over and back up through the opposite hole.  I didn’t take photos of that step, but email me if you need more detailed info.

invite2 Here they are all finished up: invite2 invite Voila! A cute and custom invitation! The possibilities are endless with this type of project, just use your imagination and creativity.  You can decorate the invitations further with stickers, rhinestones or other embellishments to fit your theme.

An alternative way to assemble the invites is by using two coordinating papers glued together and accented at the top with a bow or other embellishment glued on.  Just have fun with it!

Sunday, October 25, 2009

Before & After: Super-Cute Girls’ Bathroom

***Edited to add: The following re-do IS NOT MINE! I only helped with the artwork in the room.  My best friend and her husband are responsible for the amazing transformation you’re about to see.  Please give them the credit in your comments.***

I’m featuring another project from my best friend’s new home today, so I can’t take credit for the amazing transformation you’re about to see!  Well, except maybe a little bit of credit for one small element….you may remember this artwork we made a few weeks ago:

Now I’ll show you how the whole room turned out! When they moved in, the bathroom looked like this:

bathroom1

And now, it looks like this, there’s our artwork hanging on the wall to the left:

bathroom2

Check out the gorgeous custom made window treatments and shower curtain.  Notice the cute crystal doorknobs (from Hobby Lobby) as a substitute for the traditional rod.

bathroom4Wait, you haven’t seen my favorite part yet!

mirrorafter2bathroom3

She found these two matching large mirrors for $15 each from two separate vendors during our flea market excursion earlier this summer.  After a little girly-pink spray paint, some ribbon, and some help from the hubby, she now has a beautiful and unique way to break up that large builder-basic mirror above the sink.  I believe they used super-strength double sided foam tape to adhere the frames to the mirror, and the ribbon is just taped behind more for effect than for support. I think it looks fab!

Before (with mirrors removed):mirror

 After:

mirrorafter  010

Here’s another inexpensive flea market find before, just a little too shabby:

shelf

And after, with a fresh coat of paint, the perfect amount of distressing, and super-cute accessories:bathroom5What a perfect room, any little girl would feel like a princess in here! I think she did a great job designing a bathroom that will grow with her little girls (ages 1 & 4).

I’ll be linking up with all the usual parties as well as a couple new ones.  Be sure and click on the buttons below to see more great projects!

  metmonday                 junkin' button


thriftthursdayTTbutton

Related Posts with Thumbnails